Emulate a floppy drive with a gotek to use with a RQDX3
02/11/2025
A big part of this article is just a summary of this forum thread 1
During my assembled PDP-11 project I came to the point where I had a fully working system without a good mass storage solution. Since I had a gotek floppy emulator laying around I decided to pursue this path before attempting more challenging (and expensive) routes.
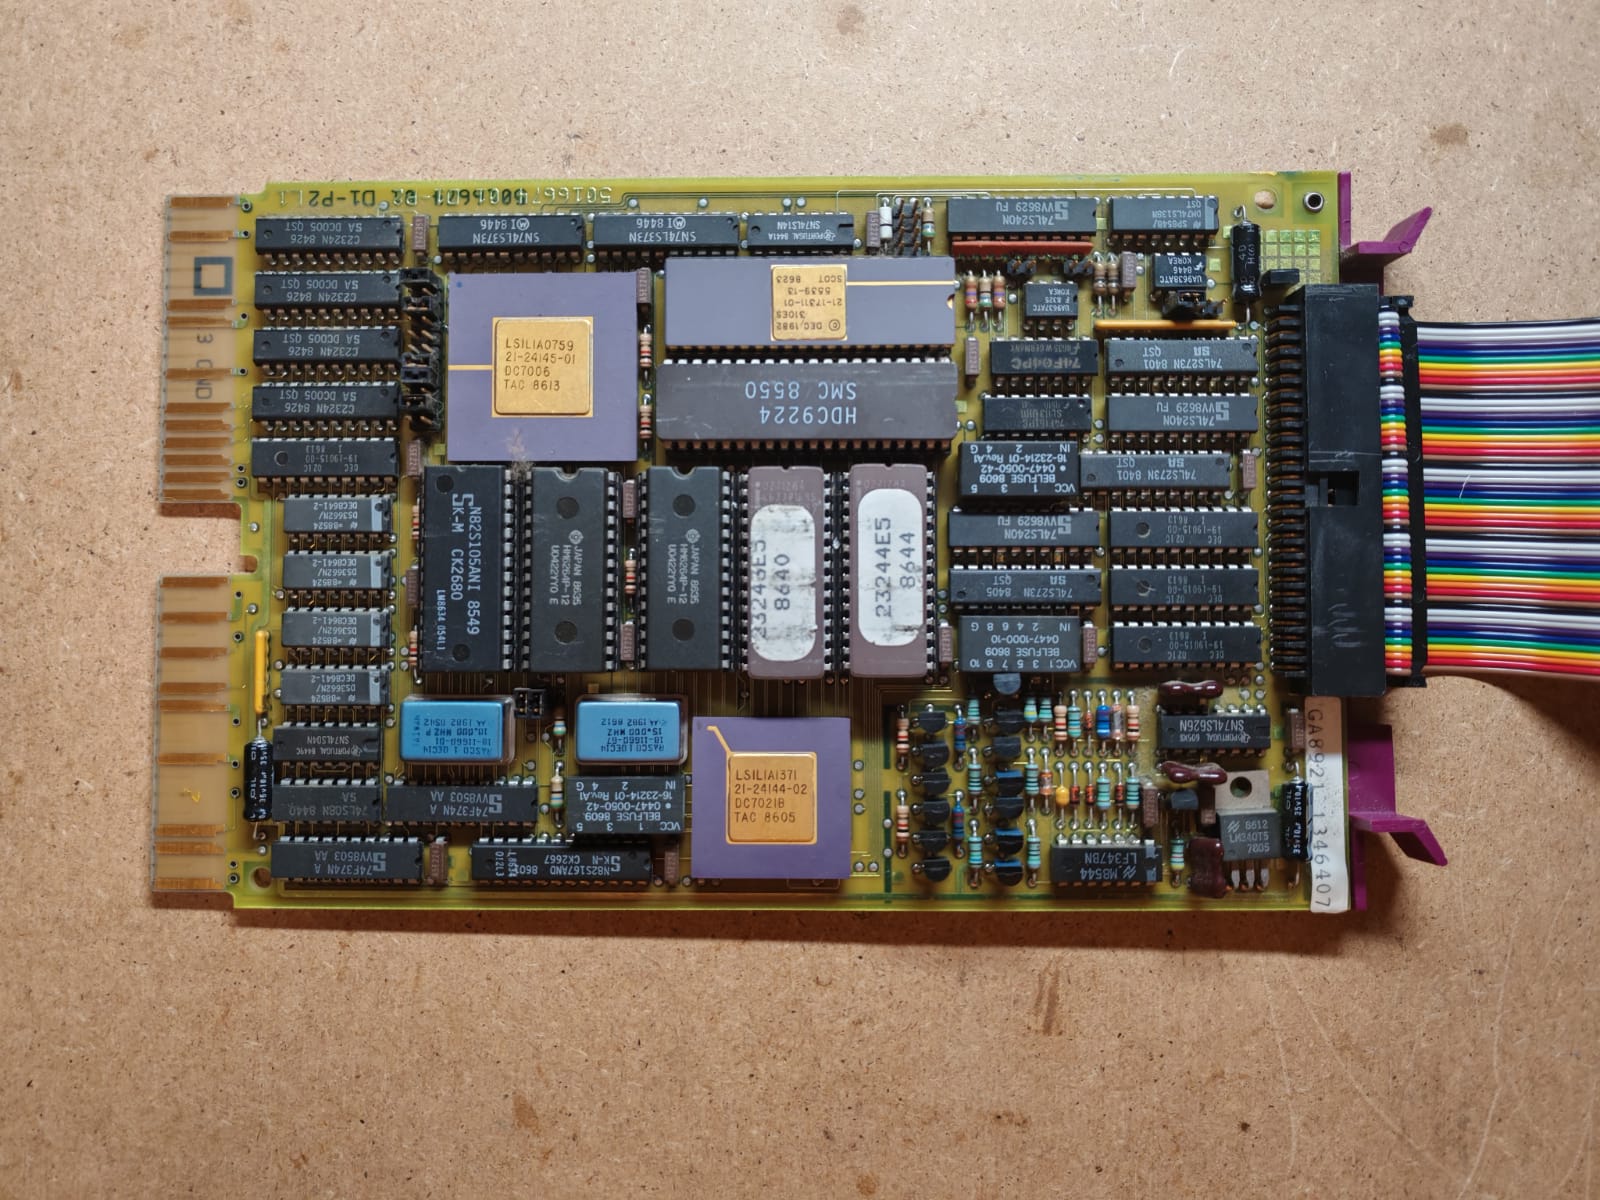
The RQDX3 is a MFM Disk and Floppy controller that is able to control up to four logical units. This module interfaces with the Q22 QBUS and is dual sized.
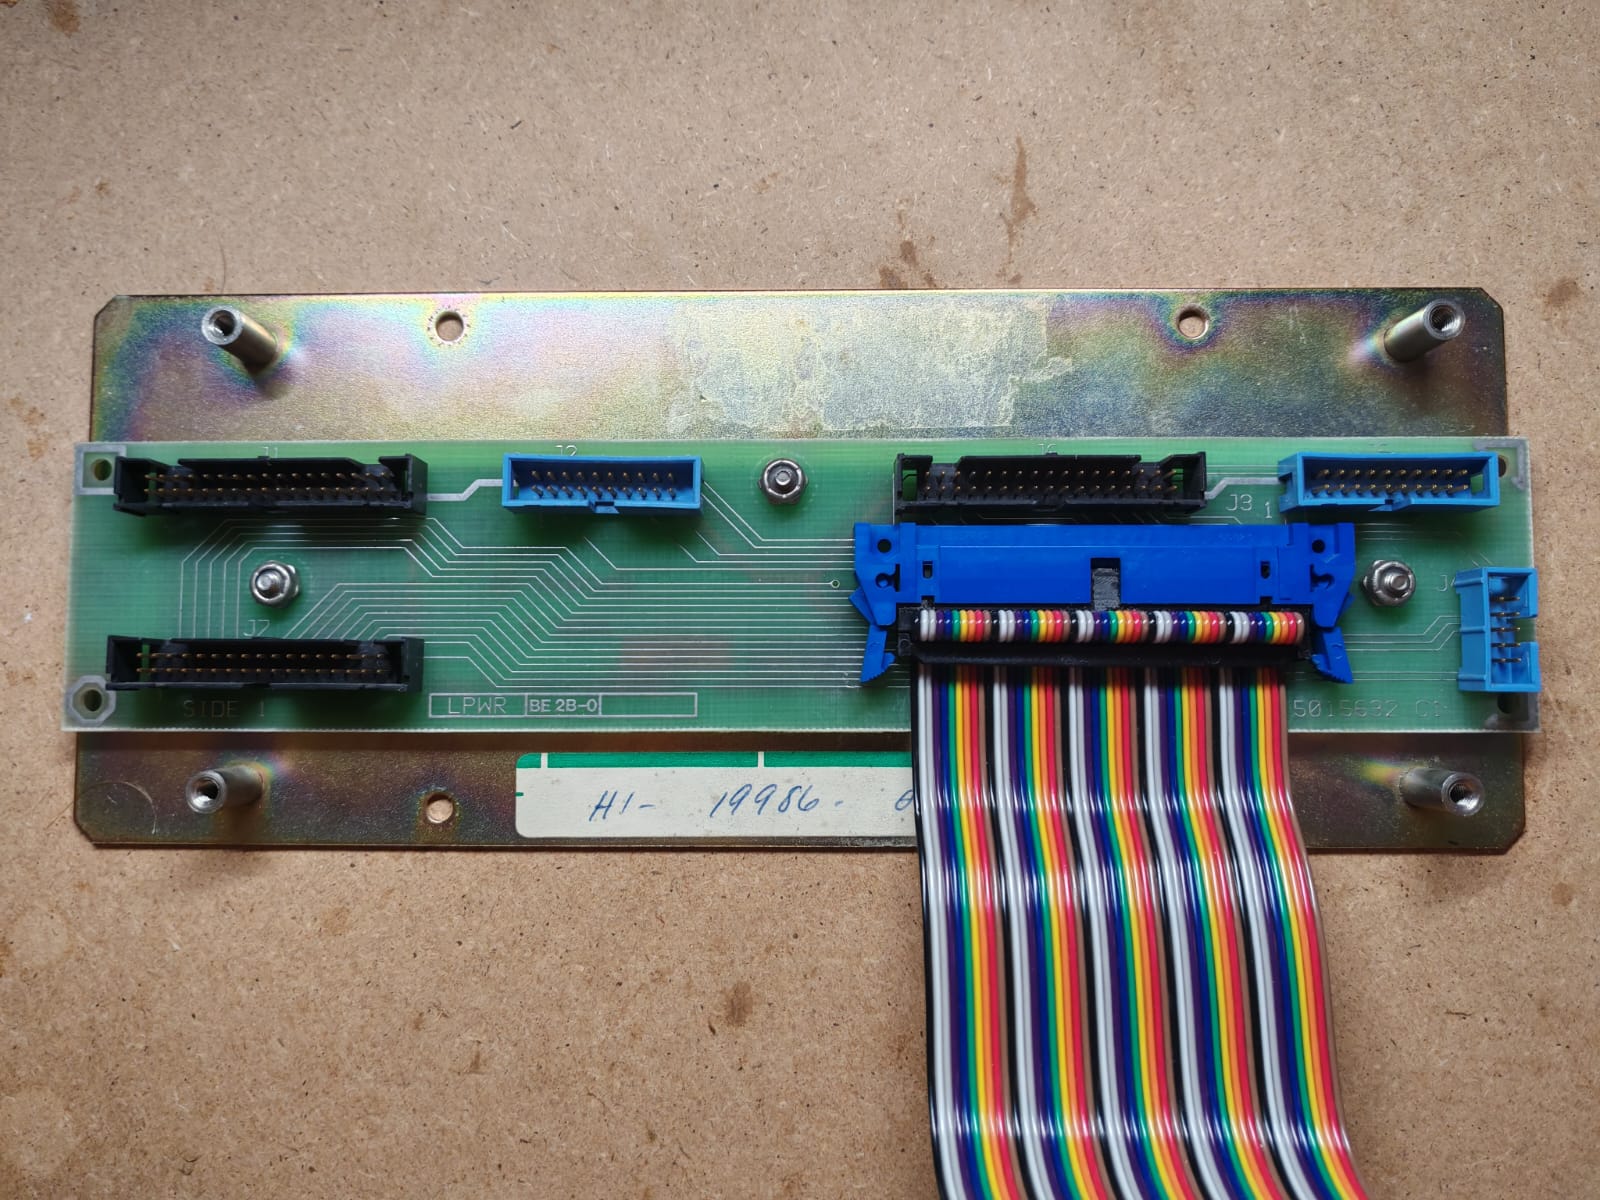
The connector of the RQDX3 is not meant for direct connection with the drives but it requires a distribution panel that divides the signal into different ports for interfacing. What I used is the distribution panel that could be found in a BA23 case.
The gotek is a floppy drive emulator that is able to load files from a USB stick and interface through a 34 pin header. It’s important to note that the Gotek I’m using is loaded with a firmware called Flashfloppy that enables higher flexibility and compatibility
When I acquired the RQDX3 and the distribution panel I didn’t get the OEM cable for the interconnection, that led me to the necessity of figuring out the direction of the cables. I didn’t find this information explicitly stated anywhere so I had to rely on illustration of RQDX3 installation, and this is what worked.
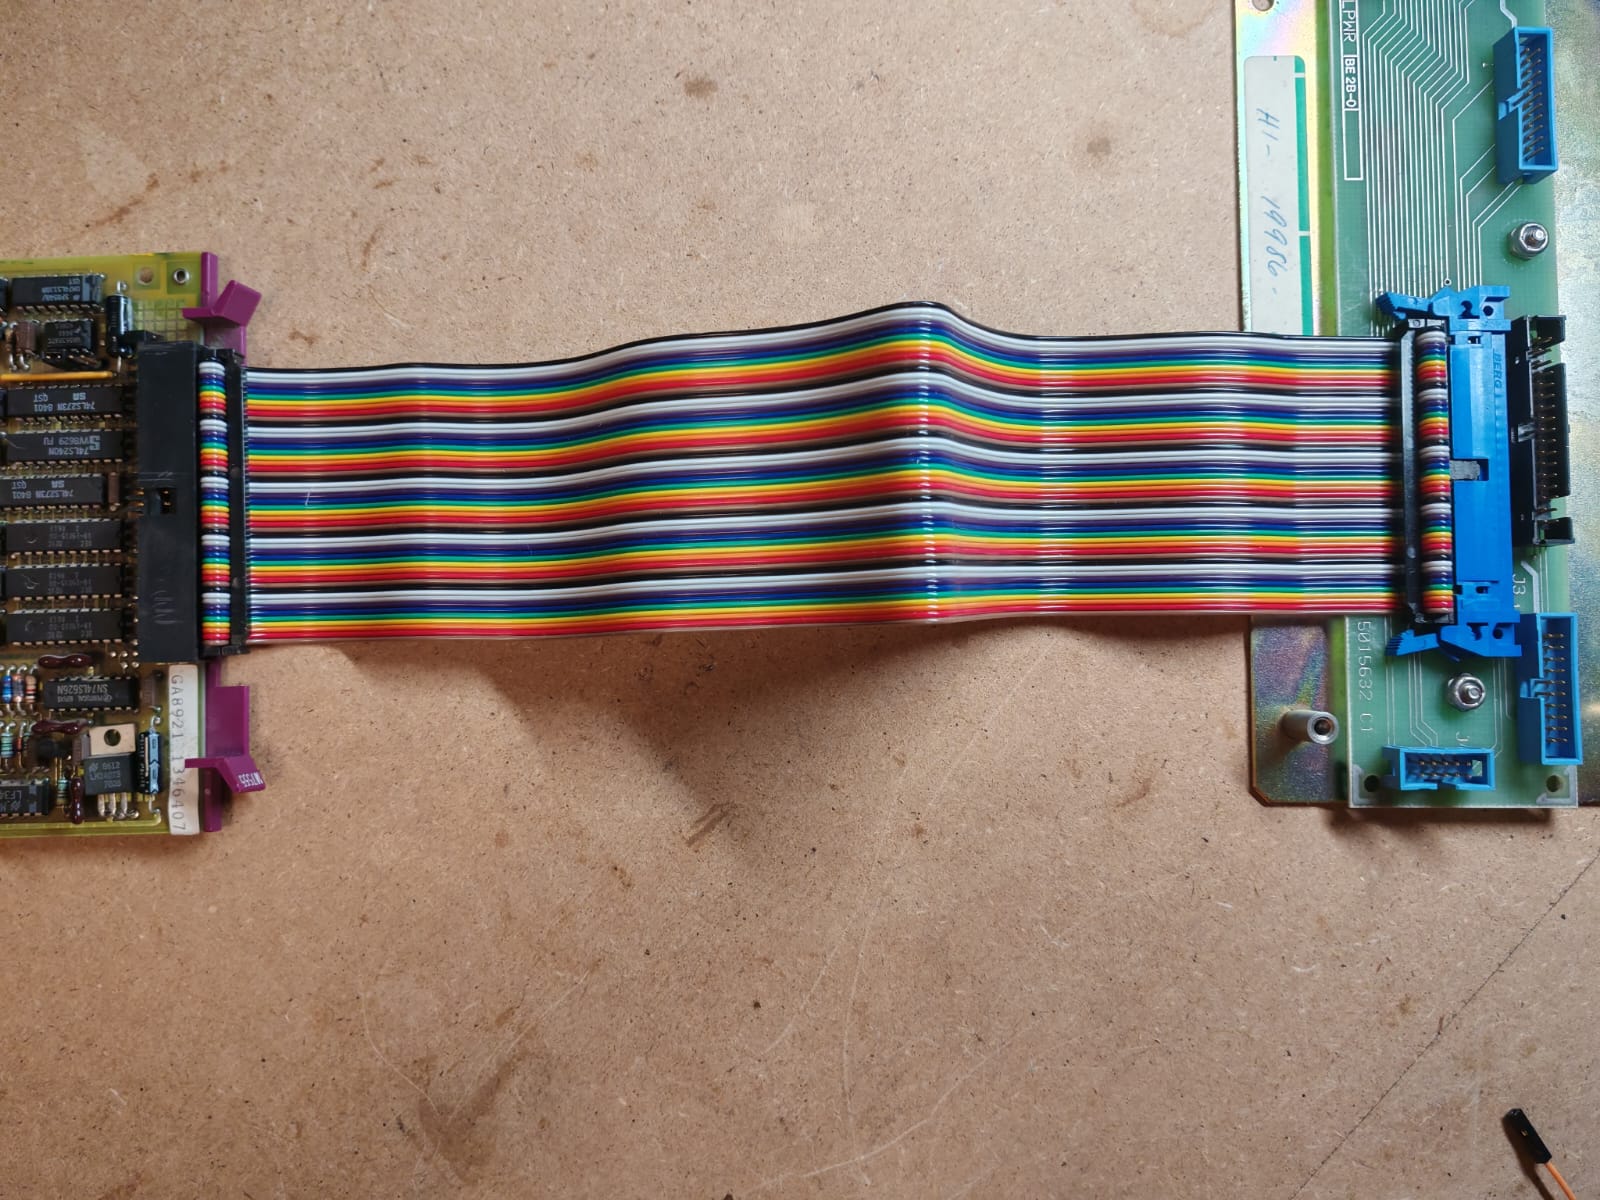
The cable used to interconnect the two cards is a 50 pin (2 rows of 25 pins) ribbon cable with standard 2.54mm pitch. Be aware that some of these cables are keyed, removing the notches from one end of the cable could be necessary to fit them. If available, a non-keyed cable is probably preferrable. Some filing could be necessary for a good fit on some of the connectors.
Attached is a photo of the cable for proper direction. I dont see how any written explanation could add something.
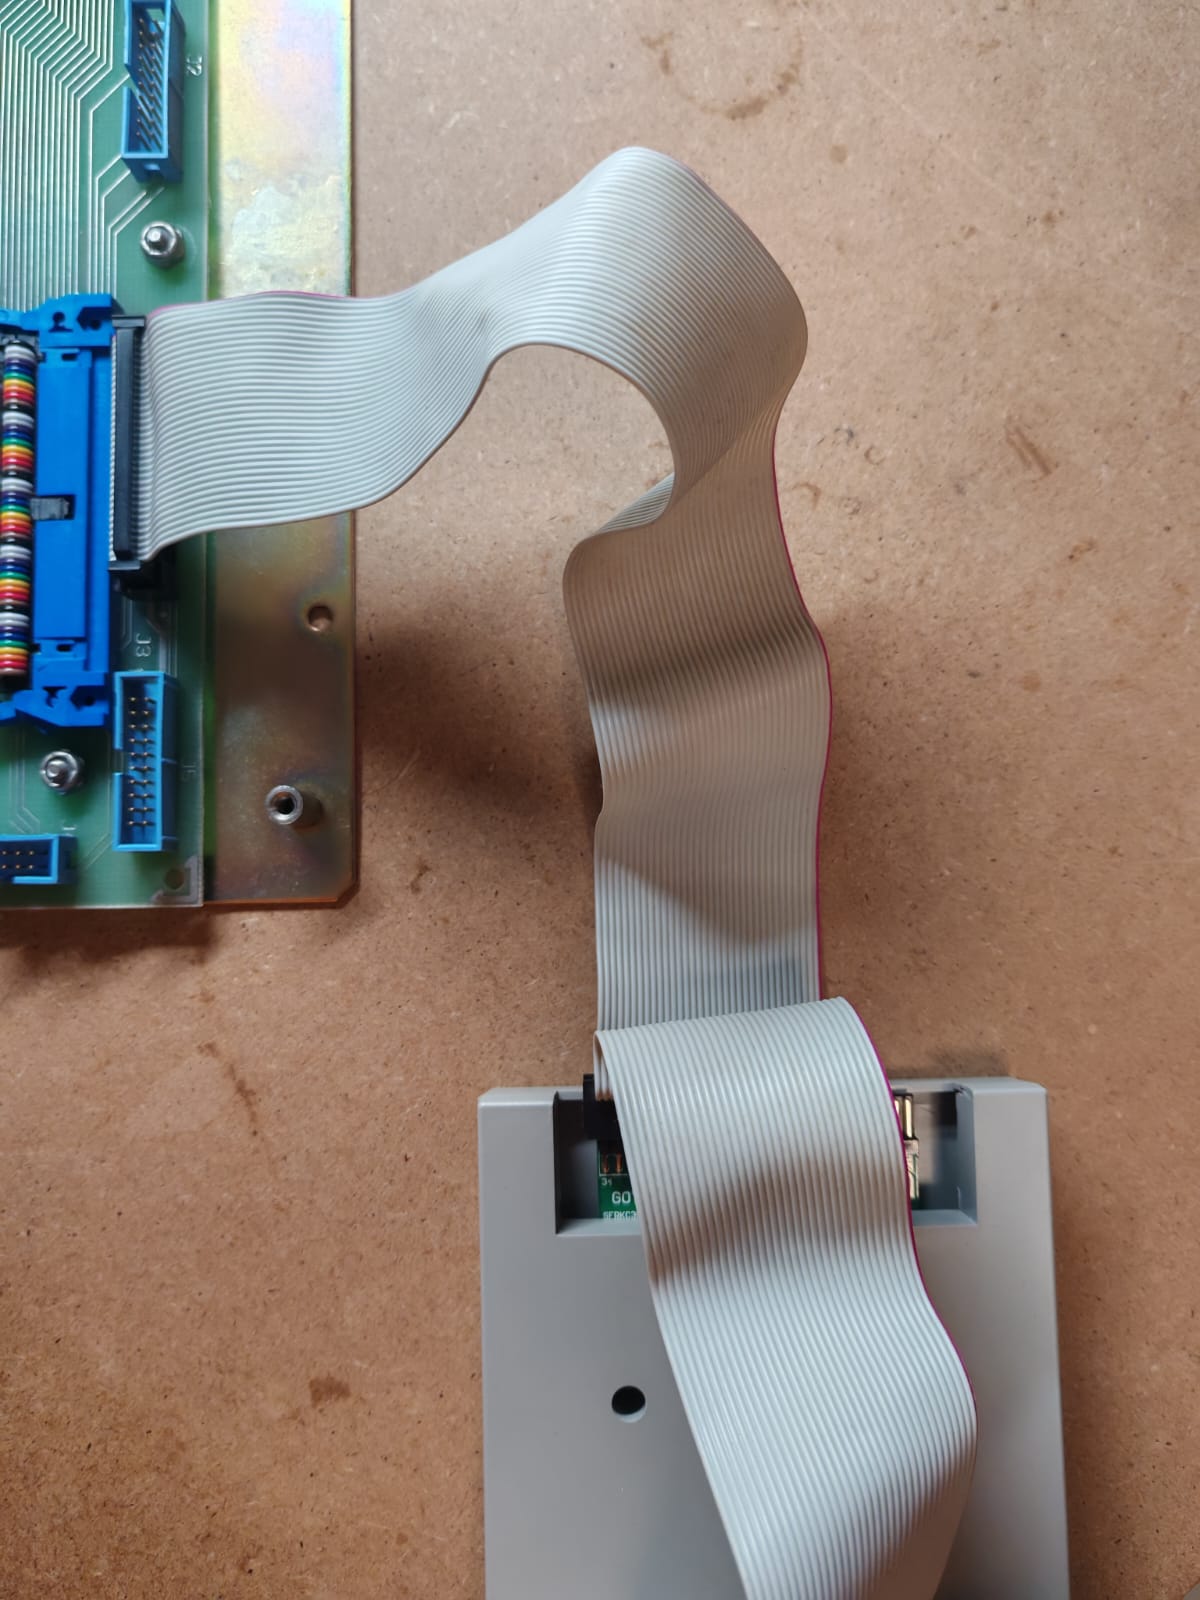
The cable used to interconnect the distribution panel to the gotek is a standard floppy 34 pin ribbon cable (non twisted). Mind that some cables have a blocked pin (for keying) that is present on one end of the connector so they may not fit.
Here too the connection is best explained by visual example
The jumpers on the RQDX3 works in its default configuration that is defined as follows
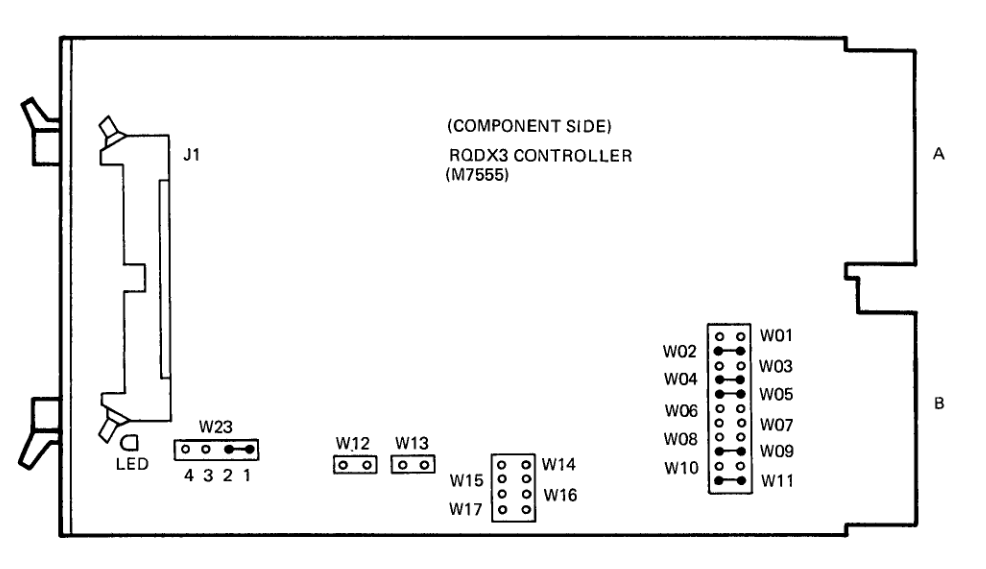
The only jumper that is set in the gotek is “S0”, that is the unit number of the drive.

The Gotek (loaded with Flashfloppy) expects a FF.CFG file for configuration. From this forum post I found a configuration that worked, here is a minimal version:
interface = ibmpc
host = dec
pin02 = auto
pin34 = auto
write-protect = no
max-cyl = 255
side-select-glitch-filter = 0
track-change = instant
write-drain = instant
index-suppression = yes
head-settle-ms = 12
motor-delay = ignore
chgrst = step
ejected-on-startup = no
image-on-startup = last
display-probe-ms = 3000
autoselect-file-secs = 2
autoselect-folder-secs = 2
folder-sort = always
sort-priority = folders
nav-mode = default
nav-loop = yes
twobutton-action = zero
rotary = full
indexed-prefix = "DSKA"
display-type = auto
oled-font = 6x13
oled-contrast = 143
display-order = default
osd-display-order = default
osd-columns = 40
display-off-secs = 60
display-on-activity = yes
display-scroll-rate = 200
display-scroll-pause = 2000
nav-scroll-rate = 80
nav-scroll-pause = 300
step-volume = 10
notify-volume = 0
da-report-version = ""
extend-image = yes
refer to the Flashfloppy documentation for the specification and for the specifics on how to load the floppy images on the gotek.
Once you get everything set up, all it’s left to do is to use it. But how? There are two options, either using it from an already loaded operating system or booting from ODT.
Keep in mind that even to format one of your floppy you need a blank floppy image with the correct specs that the gotek can write into. In the forum thread where I found most of this info1 some users posted some images.
If you already have an operating system running you can go ahead and format the disk from your preferred operating system. The floppy will be addressable as DU0:
As specified in this forum post once booted into RT-11 with RQDX3 support you just need to run two commandsd to get your floppy formatted:
FORMAT DU0:INIT DU0:DIR DU0:First of all, if you have a spare serial port you can easily boot into an operating system emulating a tu58 over a serial following my guide and then refer to the operating system guide.
If you only have ODT available you may find a bootable disk image that you want to boot from. To do this if you have no other means you can type some boostrap code as explained in this forum post.
Refer to this post for the full code to compile for yourself/modify/understand. And make sure you have memory in 0o76000+ range (or cache). Here there is a cut down version of the linked bootstrap with just the ascii characters that can be sent through a terminal emulator (keep in mind that the register R0 is used to decide the unit number so it should be set to 0 before execution)
76000/5000
76002/12701
76004/172150
76006/12704
76010/76156
76012/12705
76014/4000
76016/10102
76020/10022
76022/5712
76024/100770
76026/31205
76030/401
76032/42125
76034/1772
76036/14412
76040/6305
76042/100367
76044/105744
76046/1002
76050/10704
76052/5007
76054/5002
76056/5022
76060/20227
76062/17204
76064/103774
76066/105237
76070/17101
76072/10037
76074/17110
76076/111437
76100/17114
76102/114437
76104/17121
76106/12722
76110/17004
76112/10522
76114/12722
76116/17104
76120/10512
76122/24242
76124/5711
76126/5712
76130/100776
76132/5737
76134/17016
76136/1742
76140/0
76142/20402
76144/4400
76146/1
76150/0
76152/17204
76154/100000
76000GHere is a little compendium of what images are available for the RX50/RX33 online, most of these comes from a user called czunit on the vcfed forum, where he shared them on the thread that made this post possible1.
disk0010-0012 are respectively RT11 5.3 disk 1,2 and 3
disk0020 is a blank RX50 disk
/xxdp/disk0029 is a “minimal RX50 XXDP 2.5”
/xxdp/disk0000 is a “minimal DU XXDP 2.5”
/xxdp/disk0001-0008 are “the full XXDP distro in RX33 format. Disk 1 is bootable.”